
ShipStation Custom Store Integration
Make sure your ShipStation Account is on the Standard Plan or higher to support custom store integrations.
AccelPay Portal Configuration
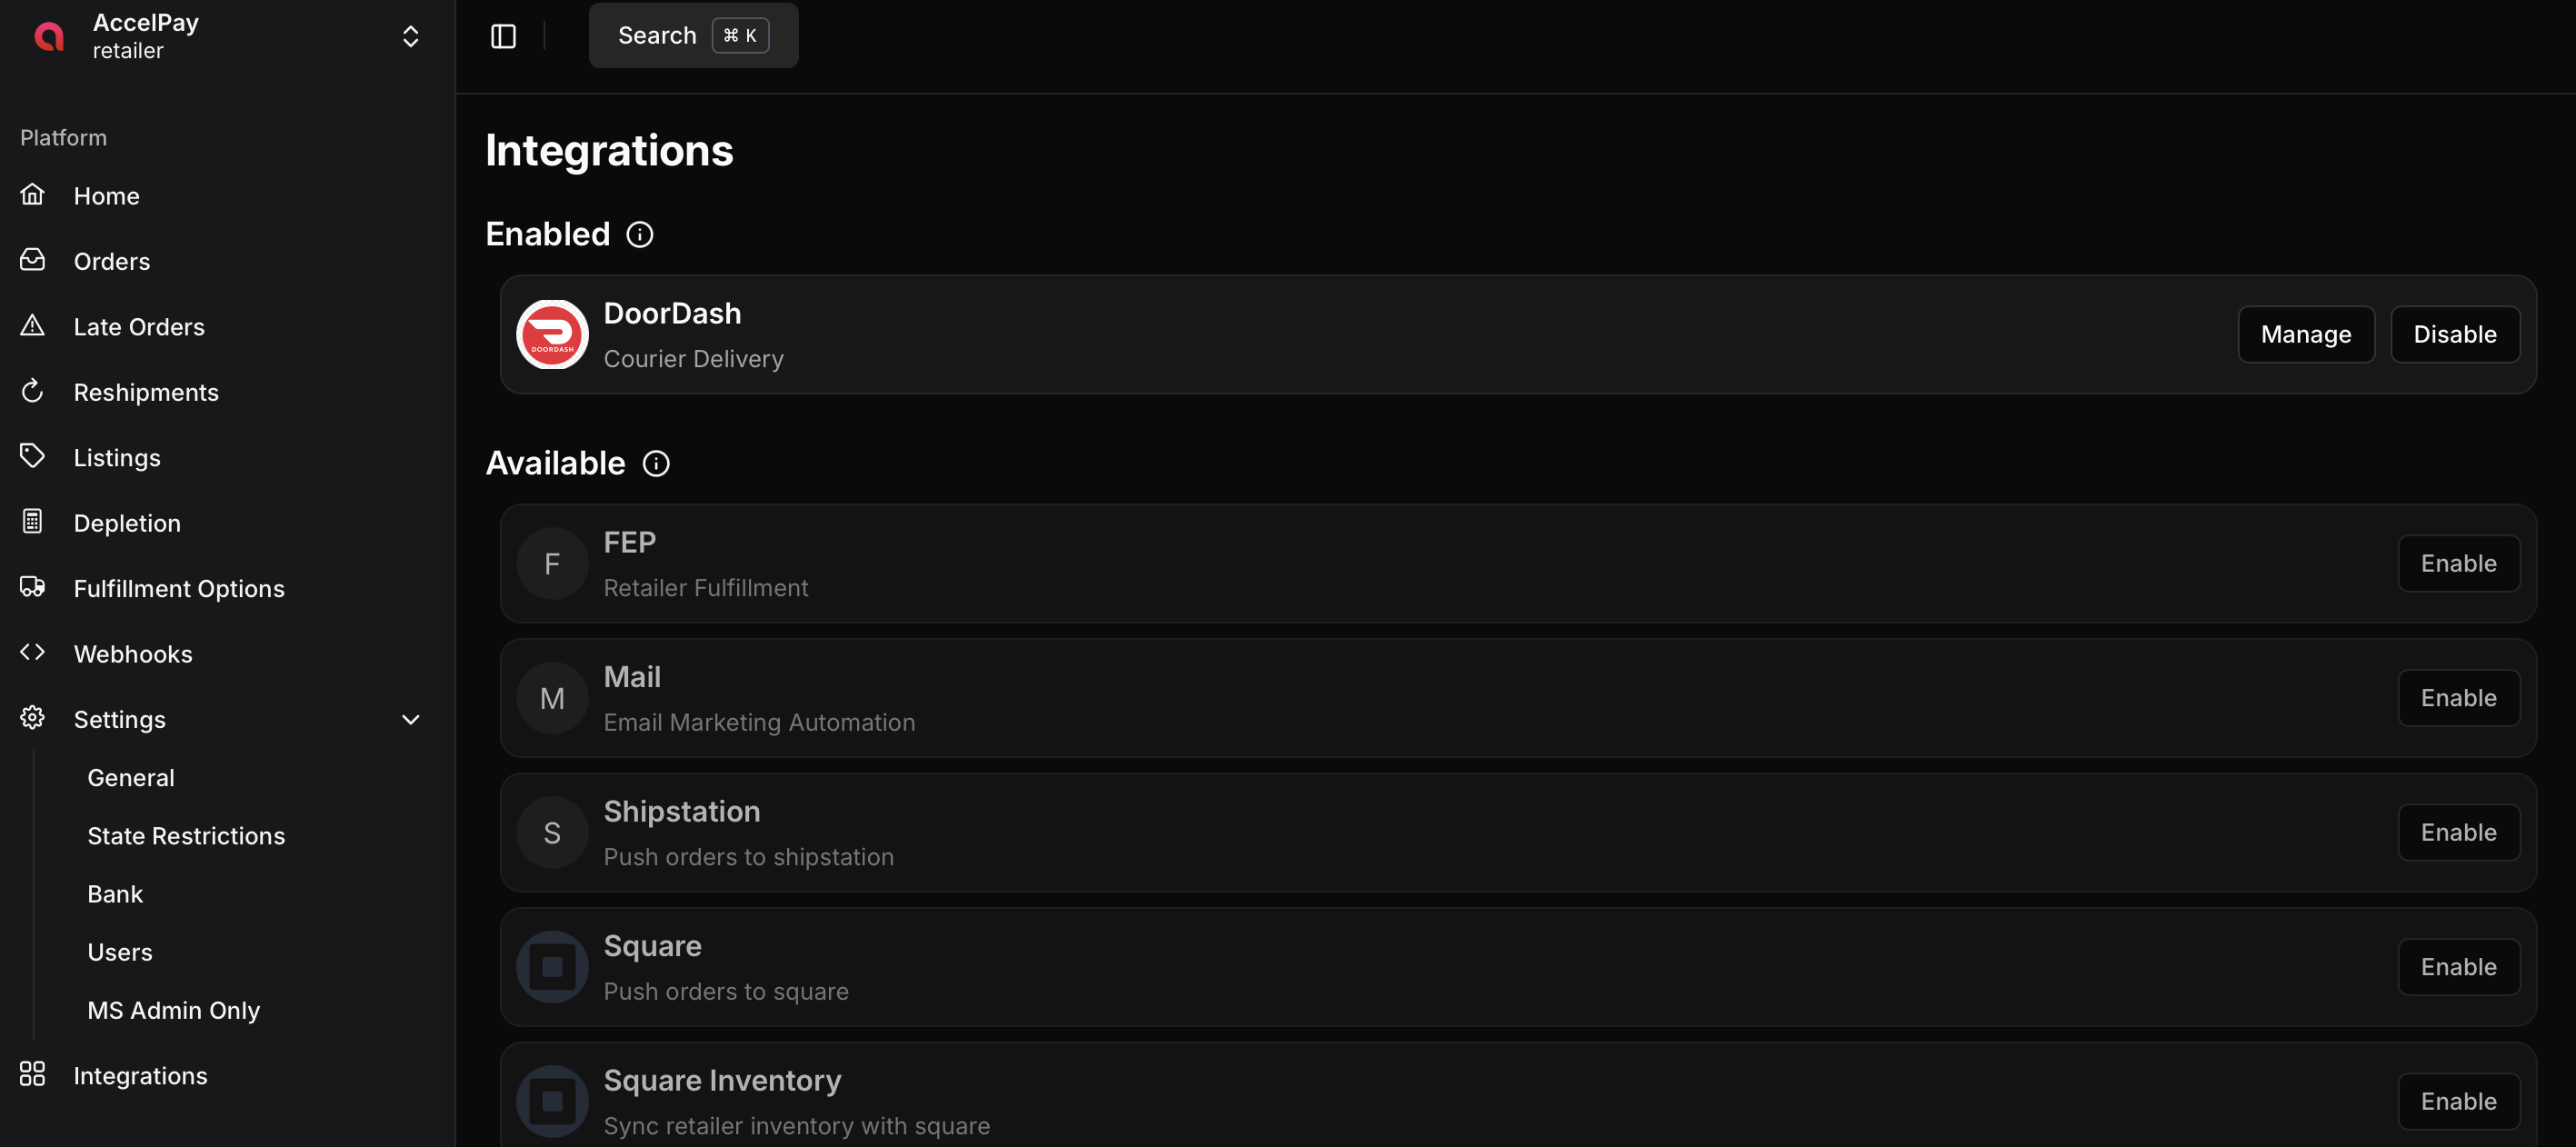
To set up the ShipStation custom store integration you must first log into the AccelPay portal. From there you need to click the "Integrations" link on the bottom left of the side navigation menu. You'll then be presented with several options. Click the Enable button next to the ShipStation integration
After enabling the integration you'll be presented with a window where you'll need to generate a new webhook secret. Click the "Generate New Secret" button under the Shop Webhook Secret input.
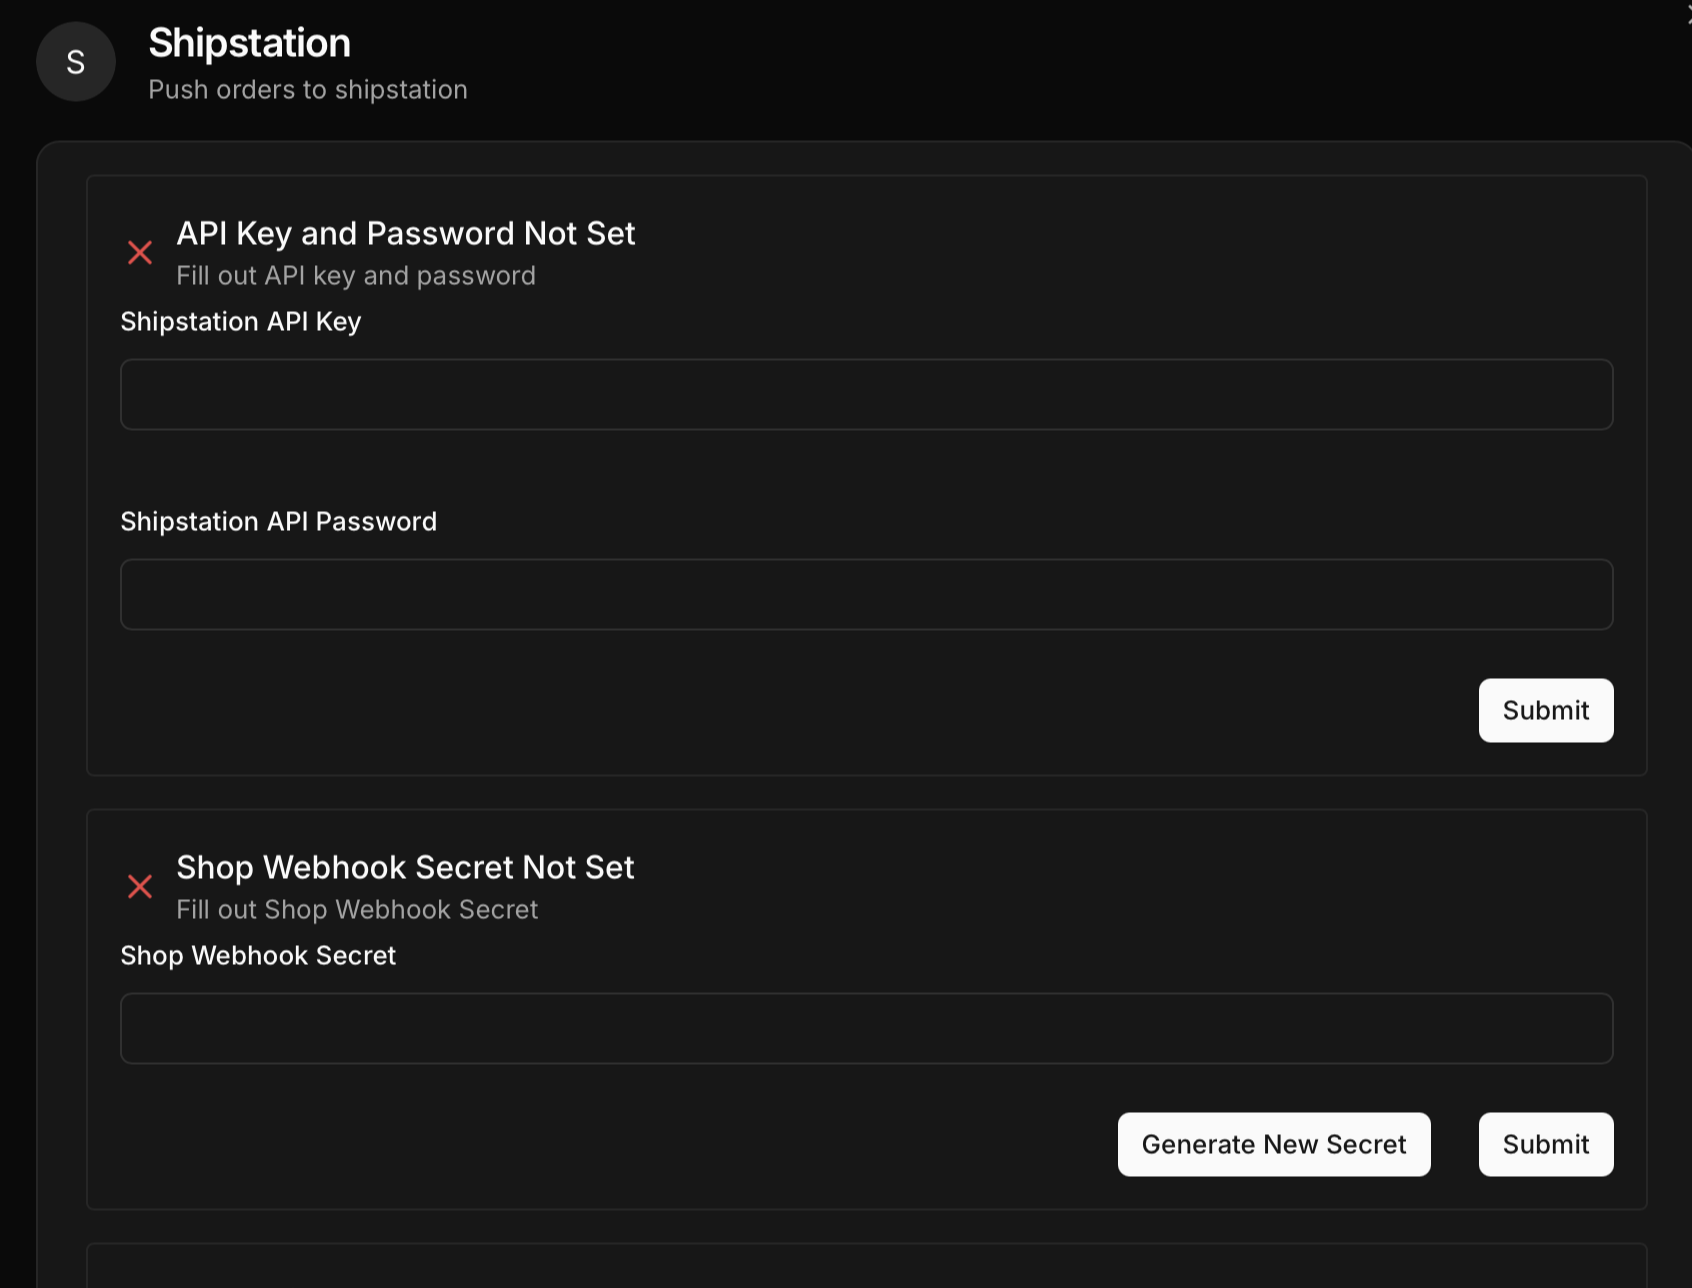
After generating a new secret click the "Submit" button next to the Generate New Secret button. You do not need to worry about the remaining fields in the window.
ShipStation Configuration
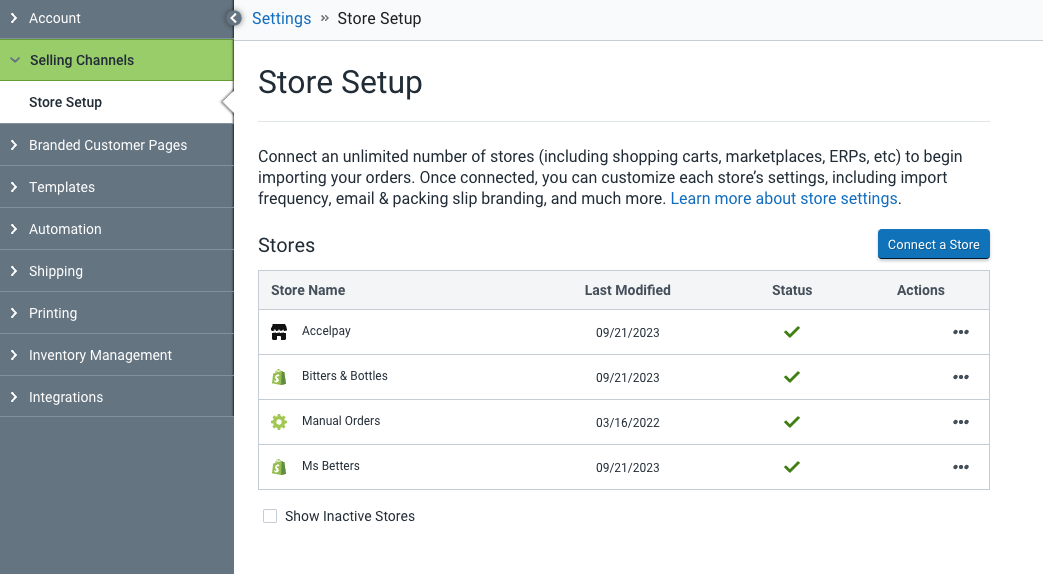
Open a new Browser tab and log into your ShipStation account. From the ShipStation account settings go to “Selling Channels” -> “Store Setup” and click the “Connect a Store” button.
Type in “Custom” in the search bar and choose “Custom Store” then the following panel should appear
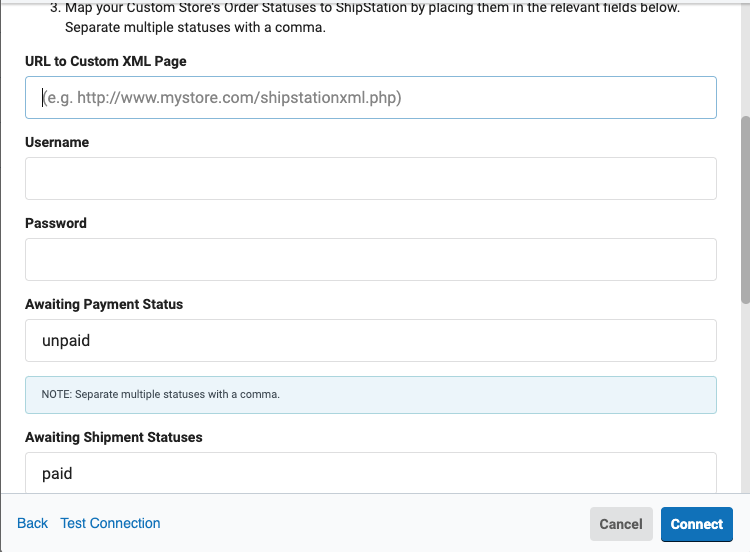
- For the URL to Custom XML Page input enter (make sure you replace
<YOUR_ACCELPAY_ID>with your ID)https://api.accelpay.io/v1/hooks/retailers/<YOUR_ACCELPAY_ID>/sales
Your AccelPay ID is a unique identifier to your store in our AccelPay Portal. This value can be found in the URL of your store as “shop= XXXXX” - For the Username input enter:
accelpay - For the Password copy the secret value you generated in the AccelPay portal. (From the instuctions defined above)
- Leave Awaiting Payment Status input unchanged
- Set Awaiting Shipment Statuses to
processed - Leave the remaining inputs alone and click Test Connection. If successful then click the Connect button.
For more information you can view the documentation ShipStation provides .
Conclusion
After configuring the AccelPay portal and ShipStation your integration should be complete! AccelPay will begin pushing orders into your ShipStation account as they come in.
Updated 6 days ago